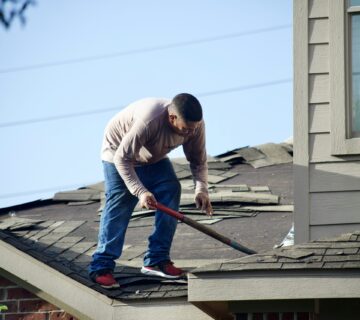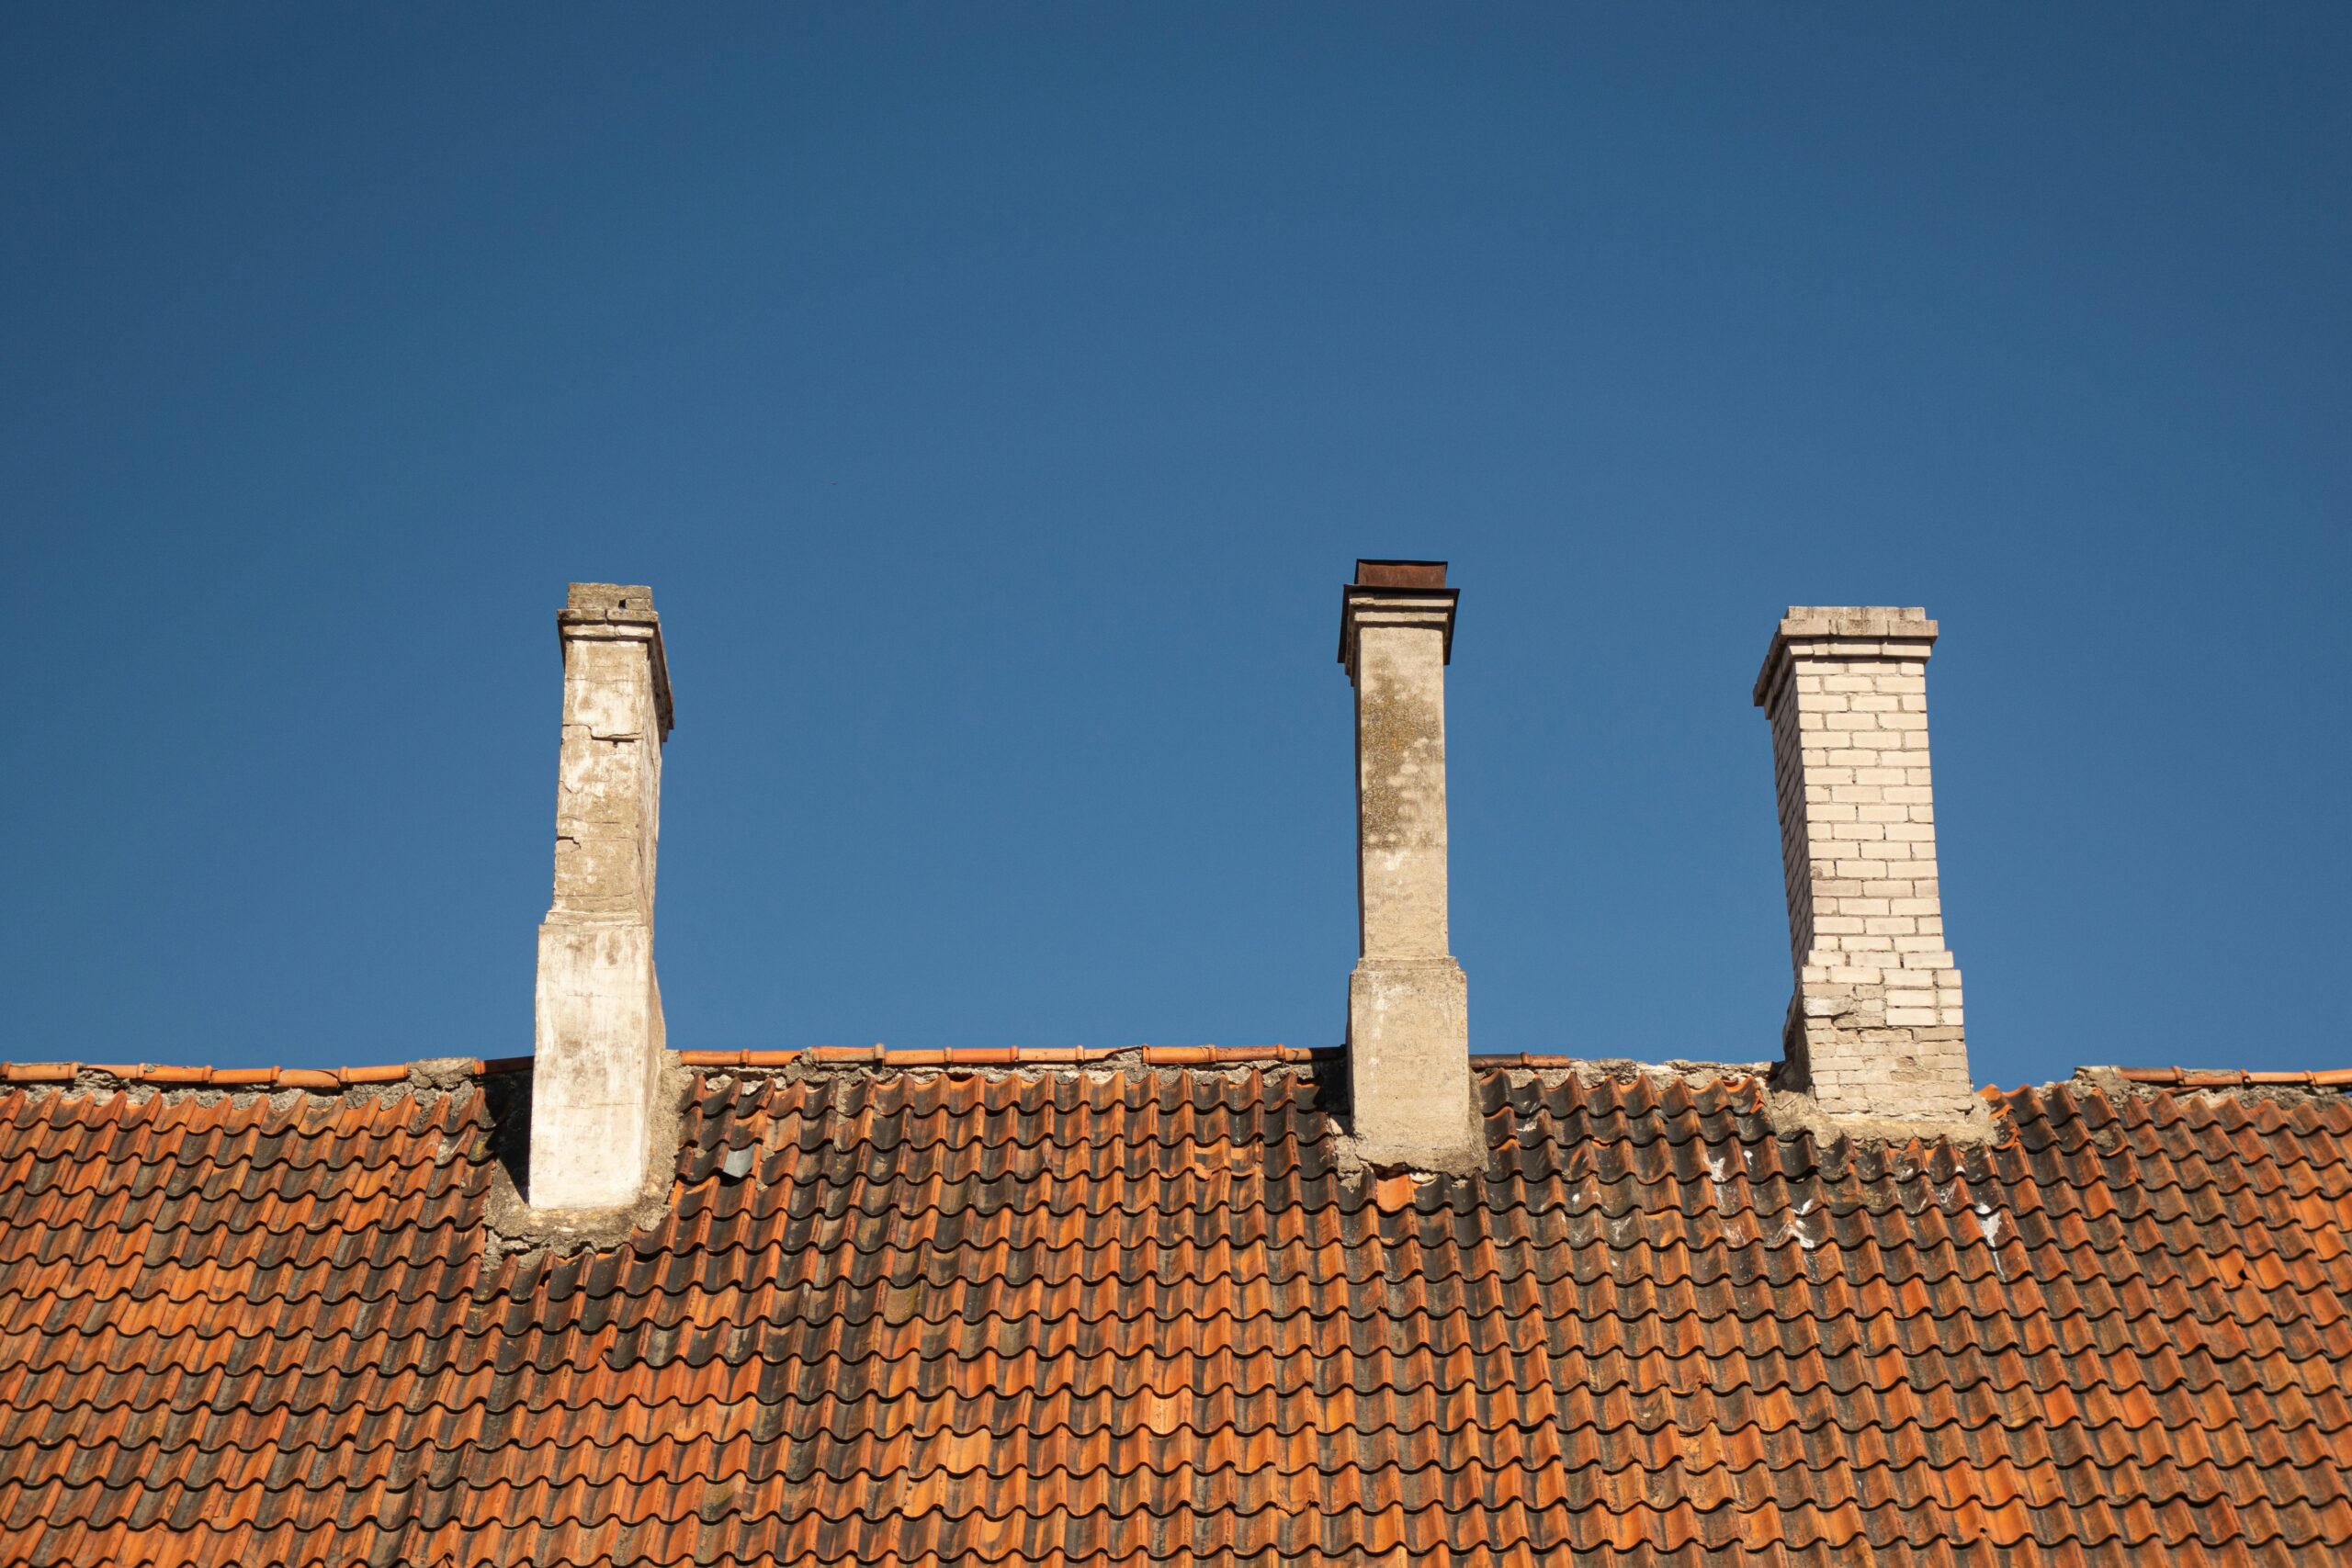
More than just a decorative feature, your chimney is essential to protecting your house from the weather, particularly in Georgia. The climate in the Atlanta metro area & North Georgia is distinct; imagine hot summers with high humidity that can hasten material deterioration, as well as the occasional strong thunderstorm that may bring hail or strong winds. Your roof is stressed by all of these factors, especially the chimney and other weak spots.
Water that seeps around your chimney can seriously damage your attic, insulation, and even the structural integrity of your house. This is the point at which chimney flashing repair is necessary. Your chimney is the unsung hero that keeps water out, even though you may not think about it every day. It’s that metal collar that directs water away and is thoughtfully integrated with your shingles and the chimney itself.
If you’re looking for comprehensive information on chimney flashing repair, you may find it beneficial to check out this related article on roofing services in Albany, Georgia. It provides insights into various roofing solutions, including the importance of proper chimney flashing to prevent leaks and water damage. For more details, visit this guide on roofing contractors in Albany.
But over time, Georgia’s weather can become problematic. Metal can expand and contract due to heat, which can result in cracks. Sealants can be damaged by intense sunlight. Also, depending solely on caulk for a long-term solution is risky; it’s frequently a band-aid solution that will eventually fail, particularly in a difficult climate like ours, as stated in recent industry guidelines.
Long-term peace of mind depends on a thorough, sturdy repair made with the appropriate tools and methods. Recognizing the vulnerabilities in your chimney. In essence, your chimney penetrates your roof system.
Picture water cascading down the slope of your roof. The point where the chimney meets the roof deck is where that water can directly seep into your attic or walls if you don’t have the right flashing. Unchecked leaks can result in mold growth, wood rot, damaged insulation, & even compromised structural beams, so this is not a minor problem. The chimney’s base, where it changes from the roof, is the main point of vulnerability. This is where most flashing occurs and where leaks most commonly start.
If you’re looking to enhance your understanding of chimney maintenance, you might find the article on chimney flashing repair particularly useful. This comprehensive guide covers essential techniques and tips to ensure your chimney remains watertight and functional. For more detailed information, check out the chimney flashing repair guide that provides step-by-step instructions and helpful insights for homeowners.
| Chimney Flashing Repair Guide | |
|---|---|
| Common Issues | Water leaks, rust, damaged sealant |
| Materials Needed | Flashing, sealant, roofing cement, nails |
| Steps | 1. Remove old flashing 2. Clean the area 3. Install new flashing 4. Apply sealant and roofing cement |
| Cost | Varies based on materials and labor |
| DIY vs Professional | Depends on skill level and extent of damage |
Another factor is the kind of roofing material you have. The flashing is made to interlock with any asphalt shingles you may have. The flashing integration will be different if you have metal roofing or even more specialty materials. Also, the flashing of your chimney may be affected by its age and material. For example, flashing may be tucked into reglets, which are tiny channels carved into the brickwork of older brick chimneys.
If left untreated, the mortar in these reglets may eventually deteriorate and open up another channel for water intrusion. The Importance of Using the Correct Flashing Materials. We no longer need to just apply sealant to a flashing seam, & for good reason.
Reliable, contemporary chimney flashing repairs concentrate on a multi-layered system that offers strong, durable protection. Around a chimney, you’ll usually see a variety of flashing. The piece of metal that extends down over the shingles and runs horizontally across the front of the chimney is called an apron flashing. Its main function is to direct water flowing down the chimney face onto the roof. Step flashing is perhaps the most important part of stopping leaks where the sloped roof and chimney meet.
Similar to stairs, step flashing is made up of L-shaped metal pieces that are placed in an overlapping, staggered pattern. On the roof side, each piece is tucked under the shingles, and on the opposite side, it reaches up & over the chimney course. This “step” design keeps water from seeping between the chimney and the shingles by ensuring that it is continuously directed down the roof. The last, broadest layer is called counter flashing.
Usually, a piece of metal is inserted into the chimney’s mortar joints (or occasionally fastened to a metal sleeve that encloses the chimney). Overlapping the upper edge of the step flashing and apron flashing, the counter flashing descends. As a result, there is no way for water to get under or behind the other flashing components. It’s the best defense against water seeping through the chimney.
Another crucial factor is the flashing’s material. You’ll frequently find flashing made of copper, aluminum, or galvanized steel for Georgia’s climate. Although galvanized steel is a popular and affordable choice, if the protective coating is compromised, it may eventually rust.
Aluminum is more corrosion-resistant and lighter. Although it is more expensive, copper is the superior option because of its exceptional durability and lovely patina as it ages. The metal must be appropriately shaped & sized for the particular chimney and roof configuration. The Whole Chimney Flashing Repair Procedure. When it comes to fixing a chimney leak, a skilled roofing contractor won’t just fix the obvious problem.
To guaranty a long-lasting repair, they will carry out an extensive, multi-step procedure. This is in line with current technical procedures and industry best practices that put durability and efficacy first. Inspection and diagnosis.
This is the area of true expertise. A competent roofer will begin by closely inspecting your entire chimney as well as the roof area around it. They will search for:. Flashing that is rusted, bent, or cracked is visible damage.
Shingles that are loose or missing: Particularly those that are close to the chimney. Degraded mortar: In the reglets or around the base of the chimney. Indications of past repairs: Are there any peeling or cracked old caulk lines? Water stains can appear on the chimney itself, the ceiling beneath the attic, or inside your attic.
In order to identify the precise source of the leak, they may even conduct a water test in which they carefully direct water flow to particular locations. You cannot effectively repair what you do not fully understand, so this diagnostic phase is essential. Elimination of Damaged Items.
The repair process starts with the meticulous removal of damaged parts after the problem areas have been identified. This usually entails the following. Removing shingles: Carefully lift or remove only the shingles that are directly integrated with the damaged flashing. Reducing interference with your roofing system is the aim. Old flashing extraction: The roofer will remove the old, damaged flashing components. Cleaning the surfaces: The roof deck and chimney will be carefully cleaned of any deteriorated mortar, old caulk, and debris.
For fresh materials to properly adhere and seal, a clean surface is essential. putting in new flashing. The new, long-lasting flashing system is installed here, which is the center of the repair.
This entails using the methods that are standard for the industry. Installation of Apron Flashing: The apron flashing is first installed, going up the chimney’s face and then down over the roof shingles’ edge. It is positioned with care to collect water. Step Flashing Installation: This is the application of the actual “step” design.
After being carefully placed beneath the roof slope shingles, each step flashing piece is bent to fit the chimney’s shape. They are positioned in an overlapping, staggered pattern to guaranty constant water coverage. The last line of defense is the integration of counter flashing.
In the event that your chimney has reglets, the counter flashing will be carefully inserted through these channels. Specialized methods will be used to secure the counter flashing over the top edge of the step flashing in chimneys without reglets or with reglets that are too damaged. The most secure and long-lasting integration is achieved by repointing the reglet with matching mortar, according to modern practices. Caulk is not a long-term solution, though it may be used as a temporary seal in some very minor circumstances. Generally speaking, caulk is only appropriate when used in conjunction with an annual inspection and maintenance plan.
The top edge of the counter flashing must be secured. This can be accomplished by using suitable fasteners that are sealed or by hammering wedges into the mortar joints. both weatherproofing & sealing. The edges and seams of the newly installed metal flashing must be completely sealed. It takes more than a single caulk bead to accomplish this. It entails applying superior, exterior-grade roofing sealant made especially for applications involving metal-to-roofing materials.
This sealant ensures a watertight bond and fills in any tiny gaps, keeping water out of even the tiniest entry points. Testing and confirmation. The final sealant bead is not the end of a truly expert repair. Leak testing is the last crucial step.
First Water Test: The roofer will perform a controlled water test following a brief period of time for the sealant to cure. They will carefully monitor the repaired area and the surrounding roof for any indications of water penetration while using hoses to simulate rainfall. This aids in quickly identifying any gaps or incorrect installations.
Post-Rain Monitoring: A good Georgia rain shower is the true test, even following a successful water test. After a lot of rain, it’s a good idea to keep an eye out for any minor leaks that might have gone unnoticed during the initial testing. The long-term efficacy of the repair is guarantyd by this proactive approach. Georgia Repair Cost-Related Factors.
You probably want to know how much chimney flashing repairs will cost. The final cost in the Atlanta metro and North Georgia regions is influenced by a number of factors. Severity of Damage: Replacing a few flashing pieces will be less expensive than replacing a large amount of flashing, repairing the shingles, and doing mortar work. Chimney Complexity & Size: More labor and materials may be needed for larger or more intricately designed chimneys. Because they require specialized work, stone or brick chimneys—especially those with deteriorated mortar—can greatly increase costs. Materials Used: As previously indicated, the cost will be affected by the choice of flashing material (copper, aluminum, or galvanized steel).
Copper will inevitably cost more because it is the most resilient & beautiful material. Labor Rates: Local labor rates in North Georgia and the Atlanta metro area can differ. You are paying for the knowledge and proficiency of certified, insured, and screened experts. Extent of Associated Repairs: These extra repairs will raise the total cost if the leak has resulted in secondary damage, such as rotting roof decking or damaged insulation. Chimney flashing repairs typically cost between $400 and $1,600, according to recent industry cost guidelines.
However, the cost can easily surpass $2,000 for chimneys that are larger, more intricate, or require a lot of masonry work. To fully grasp the details of your situation, it is always best to obtain several thorough quotes from reliable contractors. Selecting the Best Chimney Repair Contractor. Perhaps the most crucial action you’ll take is this. A poorly done repair may eventually result in more expensive damage and recurrent leaks.
You need a contractor who is familiar with Georgia’s climate and the subtleties of your particular roof system. When hiring someone to fix your chimney flashing, give priority to these attributes. Local Knowledge: They ought to be aware of the particular weather patterns in Atlanta and North Georgia, including the humidity, the possibility of hail, and the strength of our storms. Licensed and insured: This cannot be compromised. The contractor & you are both protected.
Reputable & Vetted: Seek out contractors who are dedicated to high-quality work, have a track record of success, and have received favorable reviews. Detailed Quotes: They should give a precise, itemized description of the tasks to be completed, the supplies to be used, and the related expenses. Willingness to Explain: A competent contractor will take the time to answer your inquiries, go over the repair procedure with you, and show off their expertise. In this situation, Verified Roofers can be a very useful tool.
We put homeowners like you in touch with certified, insured, and carefully screened local roofers who have proven proficiency in all facets of roof repair, including crucial elements like chimney flashing. You can feel secure knowing that you’re selecting a professional who will deliver reliable and efficient solutions for your house by utilizing our service. Keep your house safe from a leaky chimney. Your chimney will successfully shield your house from Georgia’s varied weather for many years to come if you understand the significance of appropriate flashing, the procedures involved in a full repair, and the importance of hiring a qualified expert.
.
FAQs
What is chimney flashing and why is it important?
Chimney flashing is a metal or other material installed to prevent water from entering the joint between the chimney and the roof. It is important because it helps to protect the roof and the interior of the home from water damage.
How can I tell if my chimney flashing needs repair?
Signs that your chimney flashing may need repair include water stains on the ceiling near the chimney, visible gaps or cracks in the flashing, or loose or missing flashing pieces.
Can I repair chimney flashing myself or should I hire a professional?
While some homeowners may have the skills to repair chimney flashing themselves, it is generally recommended to hire a professional. Improperly installed or repaired flashing can lead to further water damage and costly repairs.
What are the common methods for repairing chimney flashing?
Common methods for repairing chimney flashing include resealing with caulk or roofing cement, replacing damaged flashing pieces, and installing a new layer of flashing over the existing one.
How often should chimney flashing be inspected and maintained?
Chimney flashing should be inspected at least once a year, and any necessary maintenance or repairs should be done promptly to prevent water damage to the roof and interior of the home.